1. Press + R and put regedit in Run dialog box to open Registry Editor (if you’re not familiar with Registry Editor, then click here). Click OK.
2. In the left pane of Registry Editor, navigate to following registry key:
HKEY_LOCAL_MACHINE\SOFTWARE\Microsoft\Windows NT\CurrentVersion\NetworkList\Profiles
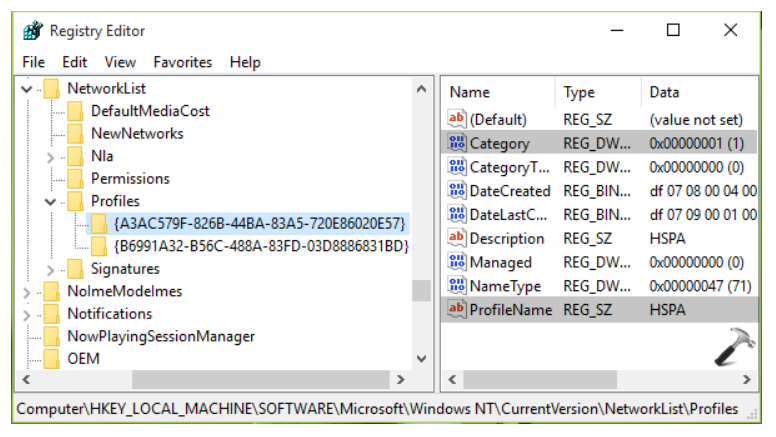
3. At this registry location, expand the Profiles key in the left pane. Then you’ll see long sub-keys with different Globally Unique Identifiers (GUIDs). The number of sub-keys here equals to number of networks you’ve joined till date and each network has a unique sub-key. In the corresponding right pane of sub-key, locate the ProfileName registry string. Its Value data should correspond to the name of respective network. So in this way, select the GUID for your network and in the right pane, look for Category named registry DWORD. Double click on it to modify its Value data and so the location type:
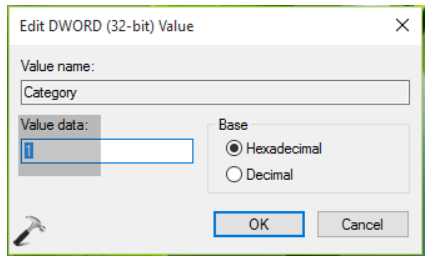
4. In the above shown box, set the Value data to 1 for Private, 0 for Public and 2 for Domain network. Click OK after making the registry manipulation and close the Registry Editor.
Restart or reboot your system to make changes effective.