It does not matter if you don’t have a Mac or MacBook but still, you can test or run Apple’s macOS Big Sur on your Windows PC or laptop. Meanwhile, in our previous post, you have learned how to install macOS Catalina on VMware. However, in this post, we are going to show you how to install or run macOS Big Sur on Vmware Workstation in Windows 10.
cOS Big Sur Features
Install macOS Big Sur on VMware Workstation 16 Pro
- VMware Workstation 16 Pro
- Download the macOS Unlocker V3 for VMware
- Download macOS Big Sur
1. Install VMware Workstation 16 Pro

- Check the box next to I accept the terms in the License Agreement and click Next.

- Once again, click Next on the next pages.
- Here, click Install.

Install
- At last, click Finish.
2. Unlock VMware to Install macOS Big Sur on Windows
VMware Unlocker for macOS is a useful tool that replaces a few files, like VMware-vmx, vmwarebase.dll, and vmwarebase. So, and patches macOS settings and installation features including preferences, booting, and installation settings into VMware, as well as downloading a copy of the latest version of VMware Tools for macOS if you want. As a consequence, after you’ve installed the fix, you’ll be able to work out VMware settings and load every variant of macOS on VMware without any limitations.
Note: Make sure the VMware Workstation application is closed completely.
- When you downloaded macOS Unlocker V3 for VMware GitHub then extract it. Right-click on win-install. cmd and click Run as Administrator. Click Yes, if you are prompted.

Run as Administrator
- It will pop up command prompt running some commands and wait until it’s done.

3. Create a New Virtual Machine & Configure
- Launch the VMware Workstation app and click on Create a New Virtual Machine.

Create a New Virtual Machine
- Click Next. The default option is Typical (recommended).

- Select I will install the operating system later and click Next.

I will install the operating system later
- Select Apple Mac OS X under the Guest operating system. Choose 11.0 for the version and click Next.

- Give your virtual machine a name like macOS Big Sur and click Next.

- Specify the disk size and select Store virtual disk as a single file and click Next.

Store virtual disk as a single file
- Click Customize Hardware to configure macOS Big Sur virtual machine.

Customize Hardware
- On the Memory tab, allocate the amount of RAM. Higher RAM, higher performance.

Memory
- On the Processors tab, increase the CPU processor core.

Processors
- Click the New CD/DVD (SATA) option, click Use ISO image file, and click Browse.

New CD/DVD (SATA)
- Locate the macOS Big Sur ISO file and click Open.

- To save all the changes, click Close.
- At last, click Finish and you are done with creating and configuring macOS Catalina virtual machine.

Finish
4. Edit macOS Big Sur VMX File
- Go to Documents > Virtual Machines > macOS Big Sur > Right-click on macOS Big Sur.vmx then open it using Notepad.

- Scroll down to the bottom of texts and add the below code. Click on File > Save.
smbios.reflectHost = “TRUE”
hw.model = “MacBookPro14,3”
board-id = “Mac-551B86E5744E2388”
smc.version = “0”

Phase 5. Power on macOS Big Sur Virtual Machine
- Launch VMware Workstation and select Power on this virtual machine.

Power on this virtual machine
- Here, you will see the Apple logo.

- Select your preferred language and click the arrow icon at the bottom right-hand corner.

Select your preferred language
- Select Disk Utility and click Continue.

Disk Utility
- Choose VMware Virtual SATA Hard Drive Media then click Erase.

Erase
- Here, select the following options: Name: macOS Big Sur (optional), Format: Mac OS Extended (Journaled), and Scheme: GUID Partition Map. Click Erase. When finished, click Done.

Erase
- Click the Disk Utility tab and select Quit Disk Utility.

Quit Disk Utility
- Select Install macOS Big Sur and click Continue.

Install macOS Big Sur
- Click Continue. On the next screen, click Agree and once again select Agree.

- Select the macOS Big Sur hard disk and click Continue.

Select the macOS Big Sur hard disk
- Now, wait patiently. It will take a good 20 to 30 minutes, depending on the speed of your PC or a laptop.

6. Setup macOS Big Sur for the First Time
Once the macOS Big Sur installation is completed, it’s time to set up the macOS Big Sur operating system for the first time on VMware.
- On the Welcome screen, select your country/region and click Continue.

Select your country/region
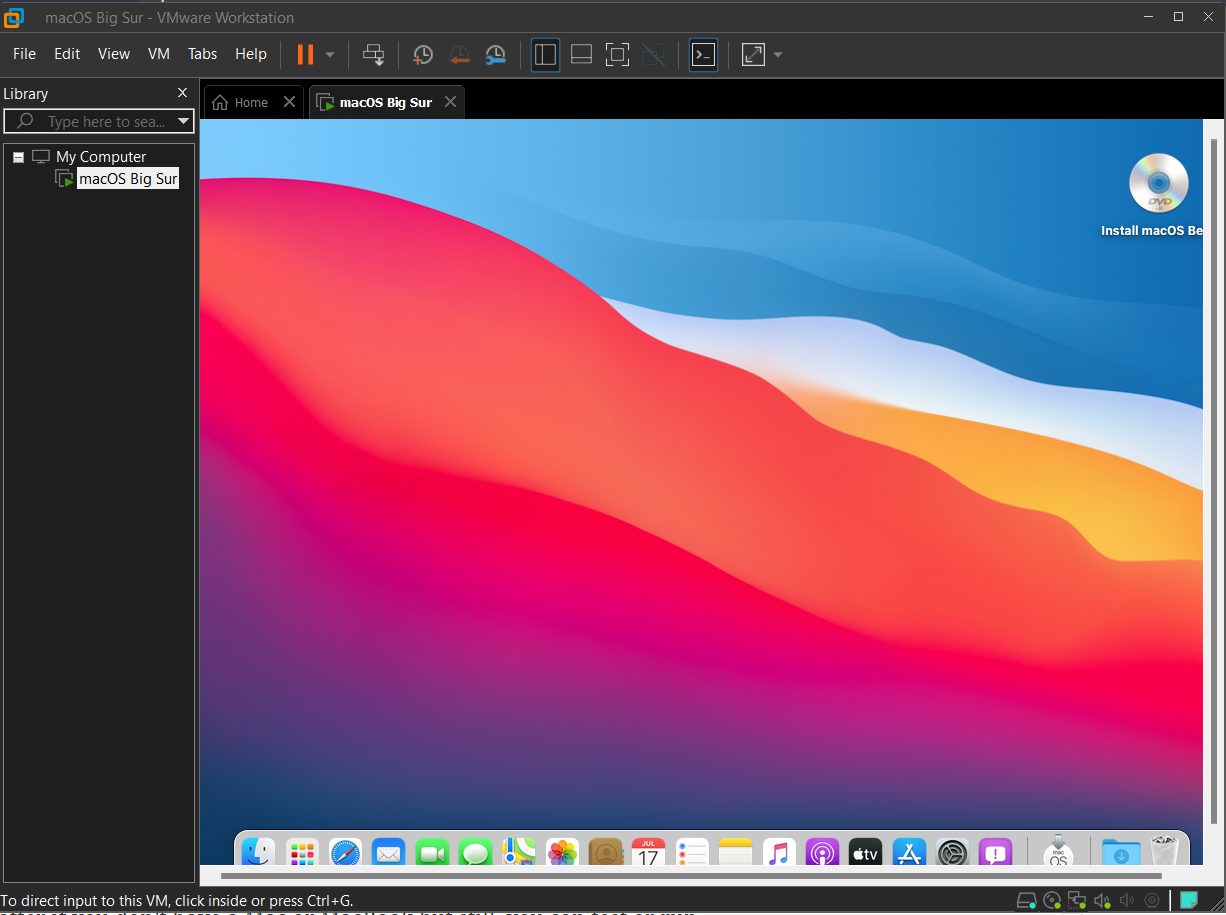
- Finally, macOS Big Sur is successfully installed on VMware.

macOS Big Sur on VMware
Fix BiErrorDomain Error 3
smbios.reflectHost = “TRUE”
hw.model = “MacBookPro14,3”
board-id = “Mac-551B86E5744E2388”
smc.version = “0”